
Kafka3.7.0:1.安装Kafka
运行环境前置要求
Kafka是使用Scala语言编写而成,Scala运行在Java虚拟机上,并兼容现有的Java程序,因此要部署Kafka需要先安装JDK环境,建议安装Java8+(Java8、Java11、Java17、Java21都可以,这里使用Java17)。
你也可以使用jenv管理多版本jdk,具体操作参考我之前的文章:
Kafka安装
前往Kafka官网下载最新3.7.0版本
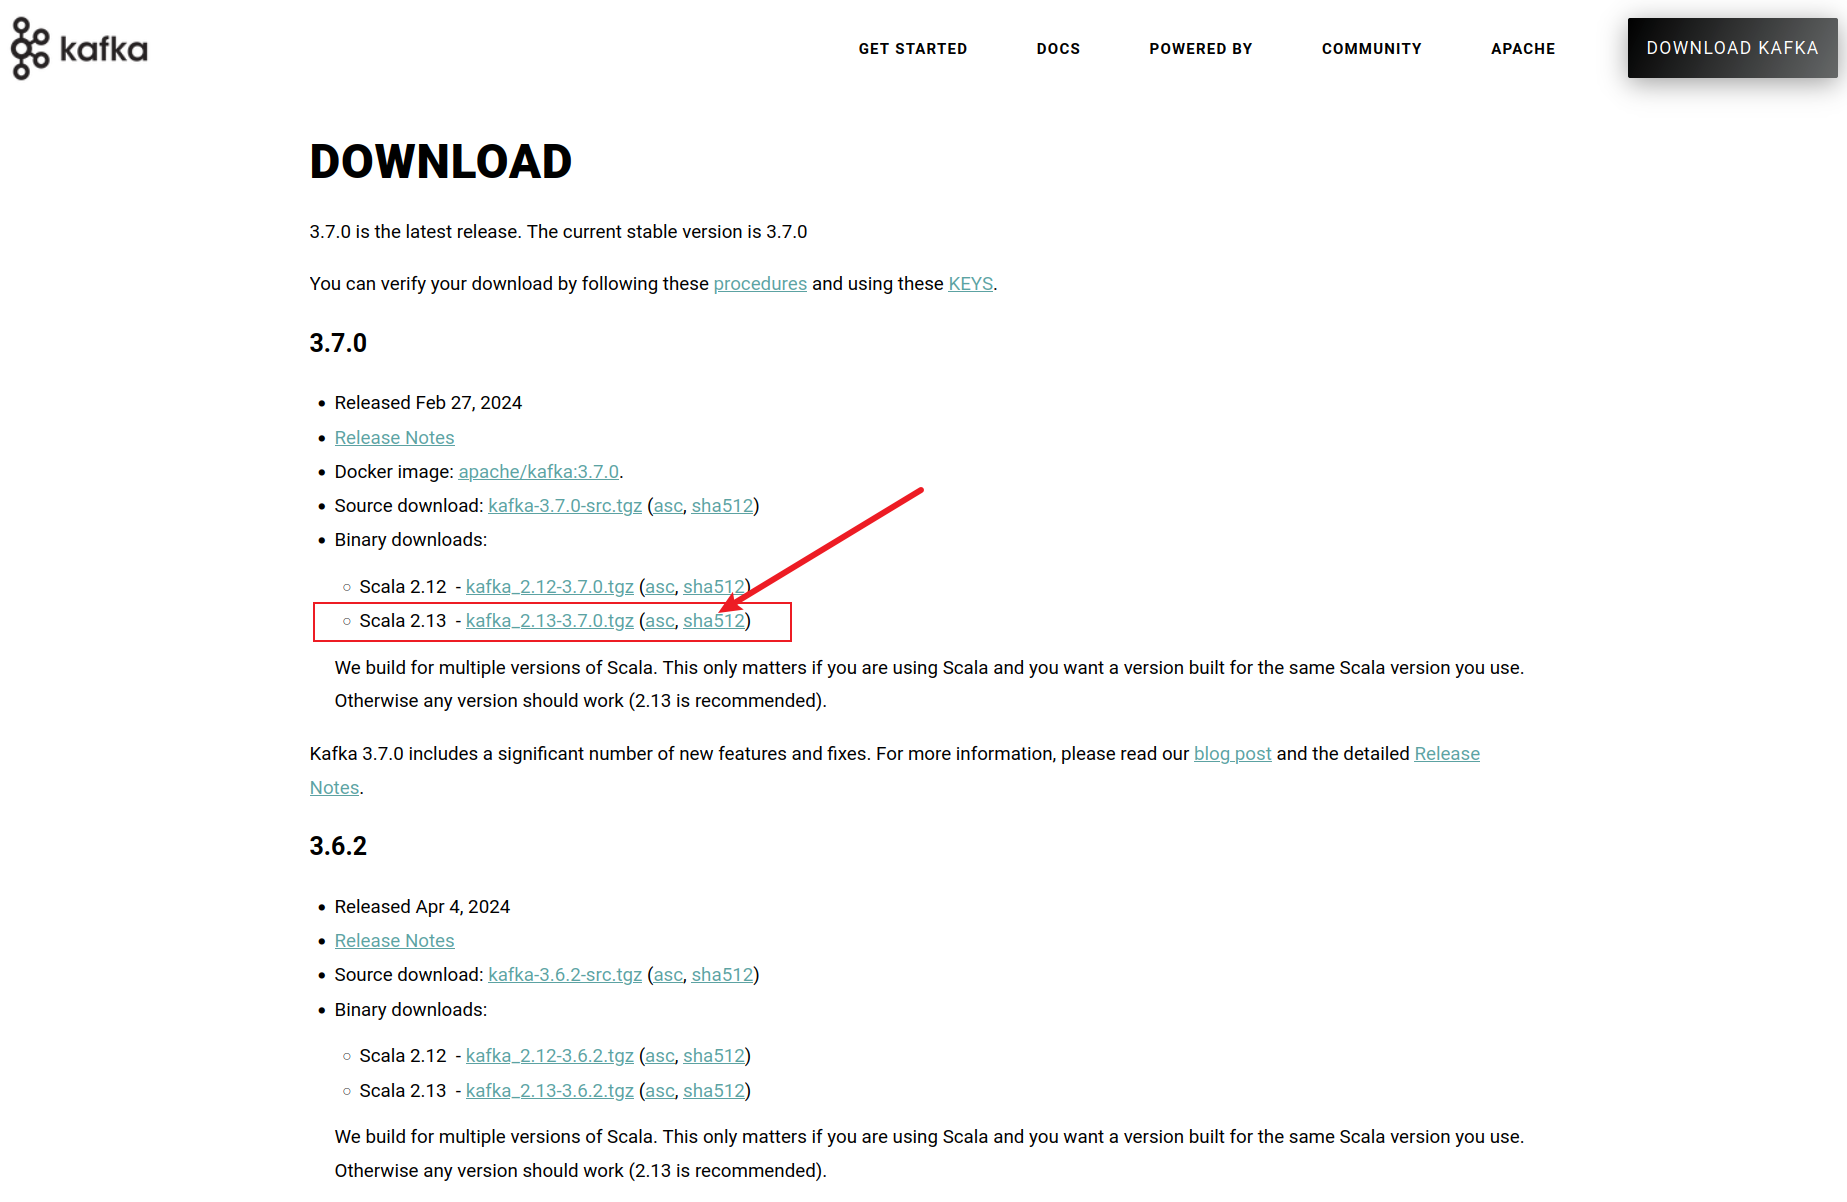
解压缩:tar -zxvf kafka_2.13-3.7.0.tgz
进入bin目录:cd kafka_2.13-3.7.0/bin/
启动Kafka
Apache Kafka可以使用ZooKeeper或者KRaft启动,但只能使用其中一种方式,不能同时使用。
KRaft:Apache Kafka的内置共识机制,用于取代Apache ZooKeeper。
- 生成Cluster UUID:./kafka-storage.sh random-uuid
- ./kafka-storage.sh format -t <你的uuid> -c …/config/kraft/server.properties
- 启动Kafka:./kafka-server-start.sh …/config/kraft/server.properties &
- 启动ZooKeeper:./zookeeper-server-start.sh …/config/zookeeper.properties &
- 启动Kafka:./kafka-server-start.sh …/config/server.properties &
- 关闭Kafka:./kafka-server-stop.sh …/config/server.properties
- 关闭ZooKeeper:./zookeeper-server-stop.sh …/config/zookeeper.properties
KRaft
- 生成Cluster UUID
查看帮助文档:./kafka-storage.sh -h
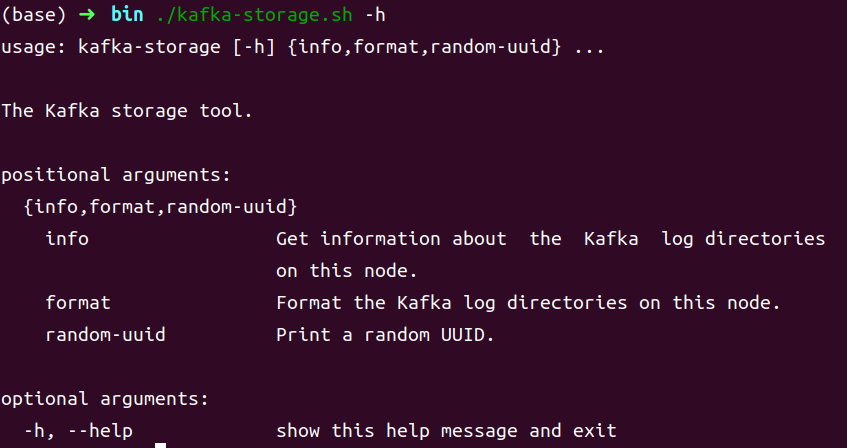
生成Cluster UUID:./kafka-storage.sh random-uuid

- 格式化Kafka日志目录
查看format帮助文档:./kafka-storage.sh format -h
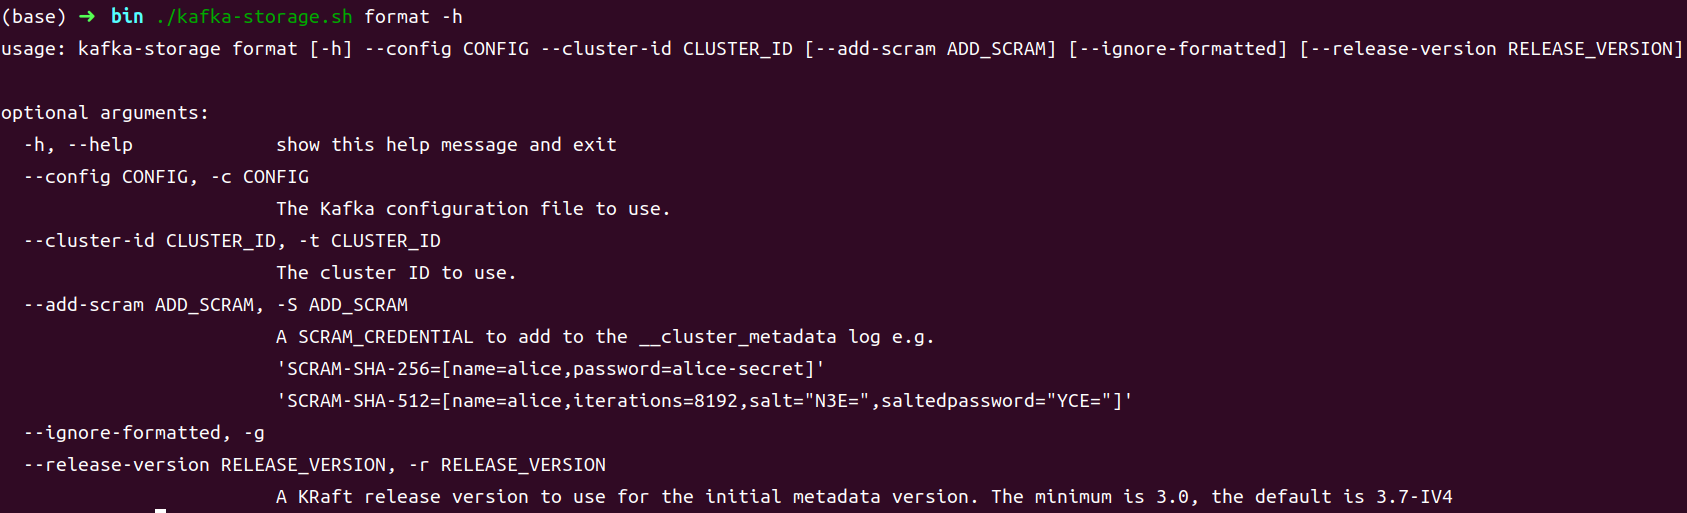
格式化Kafka日志目录:./kafka-storage.sh format -t <你的uuid> -c …/config/kraft/server.properties

- 启动Kafka
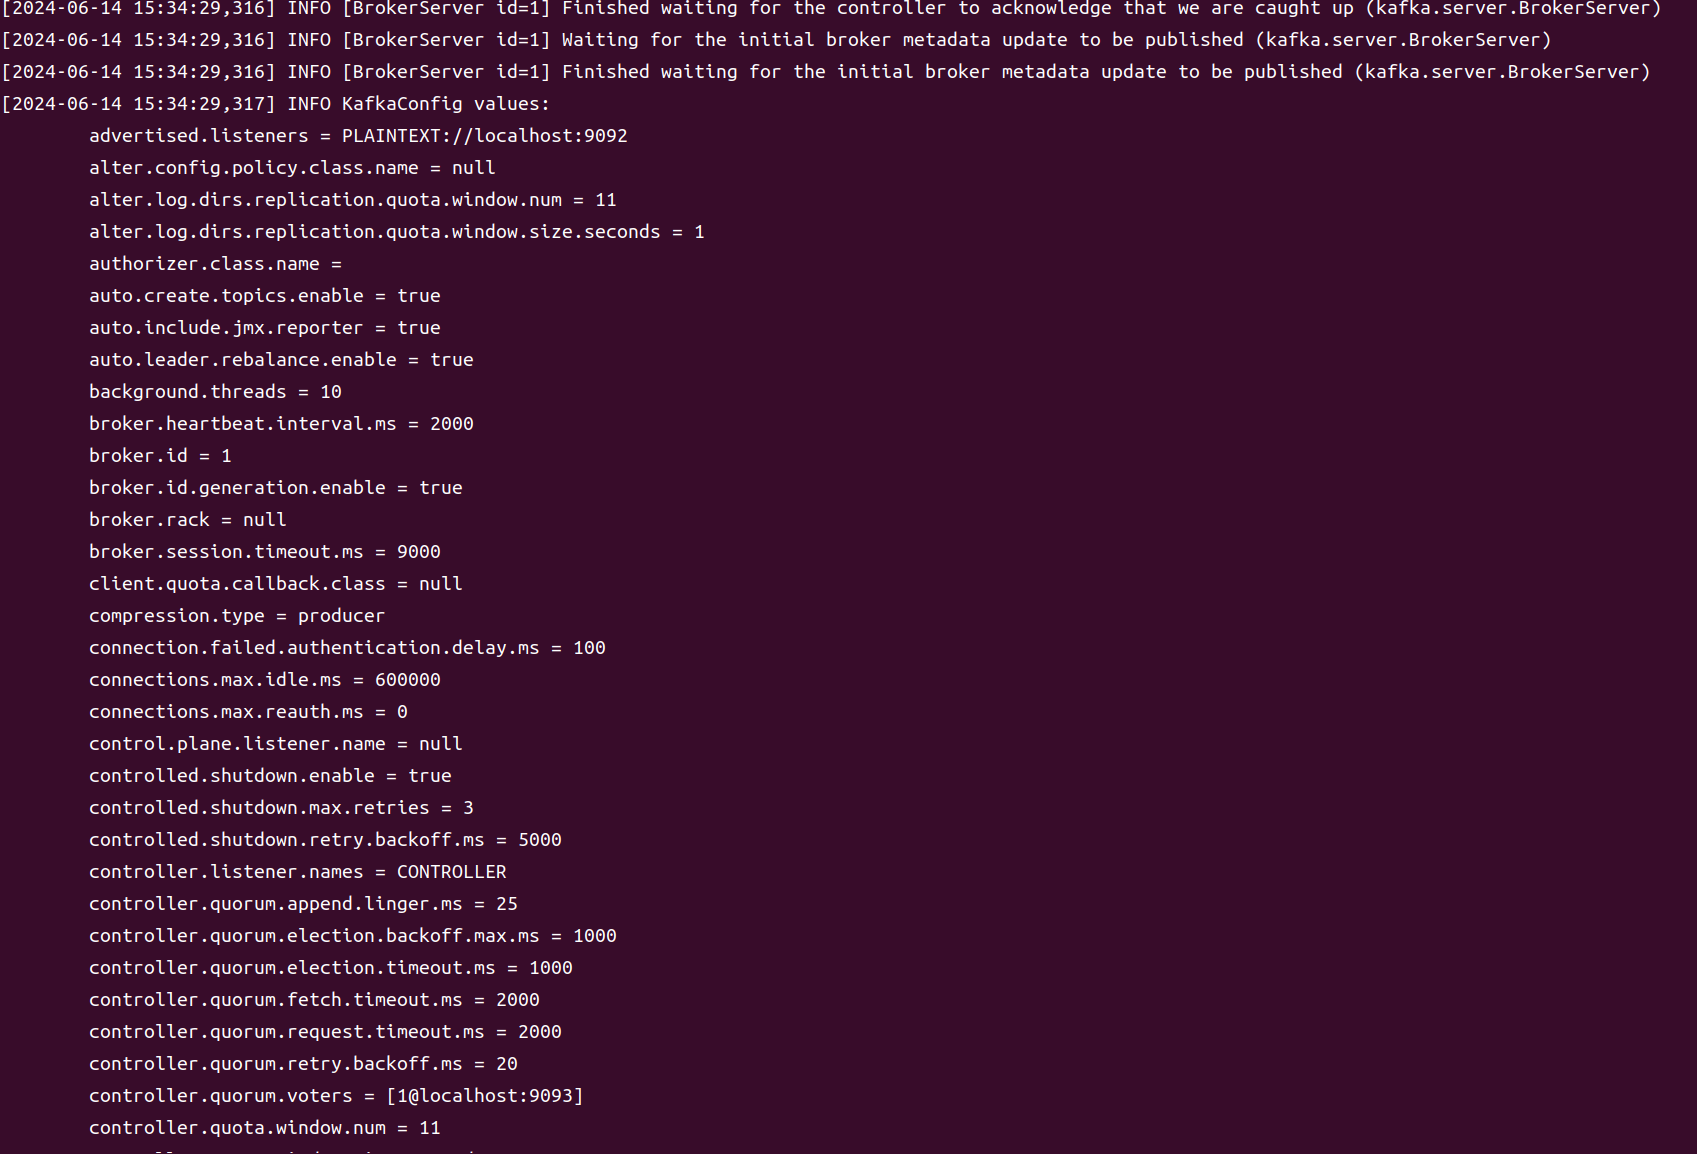
启动Kafka:./kafka-server-start.sh …/config/kraft/server.properties &
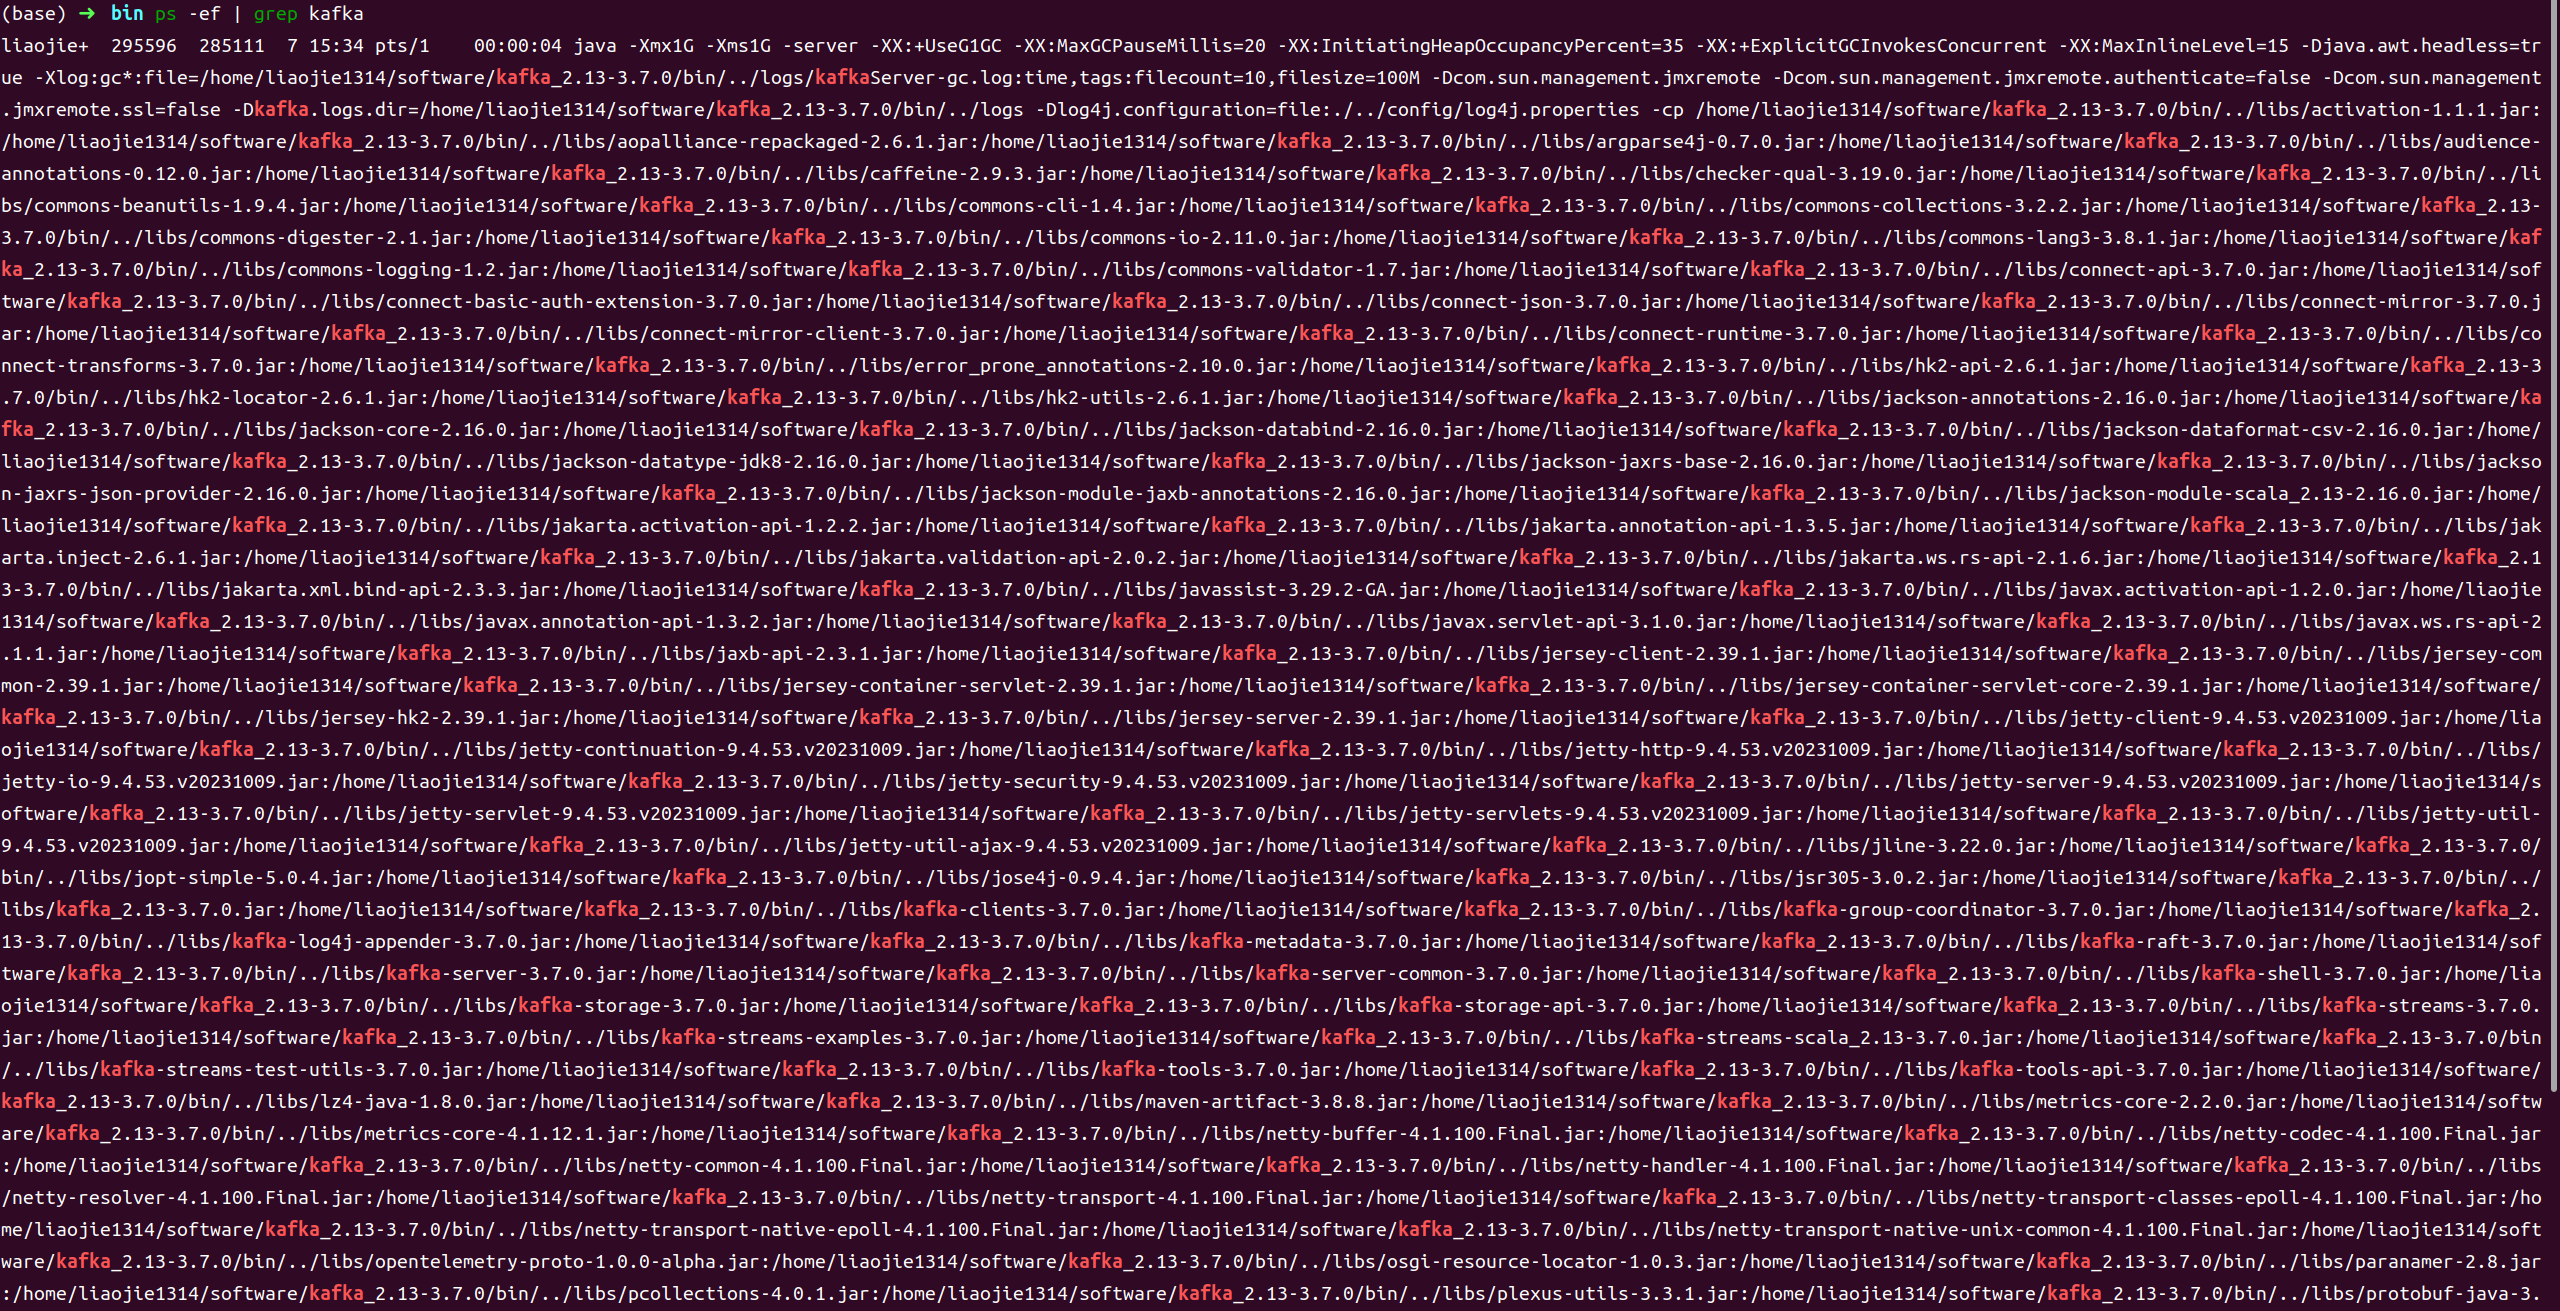
查看进程
Zookeeper服务器
当然你也可以自己去下载一个ZooKeeper,而不是使用Kafka自带的。

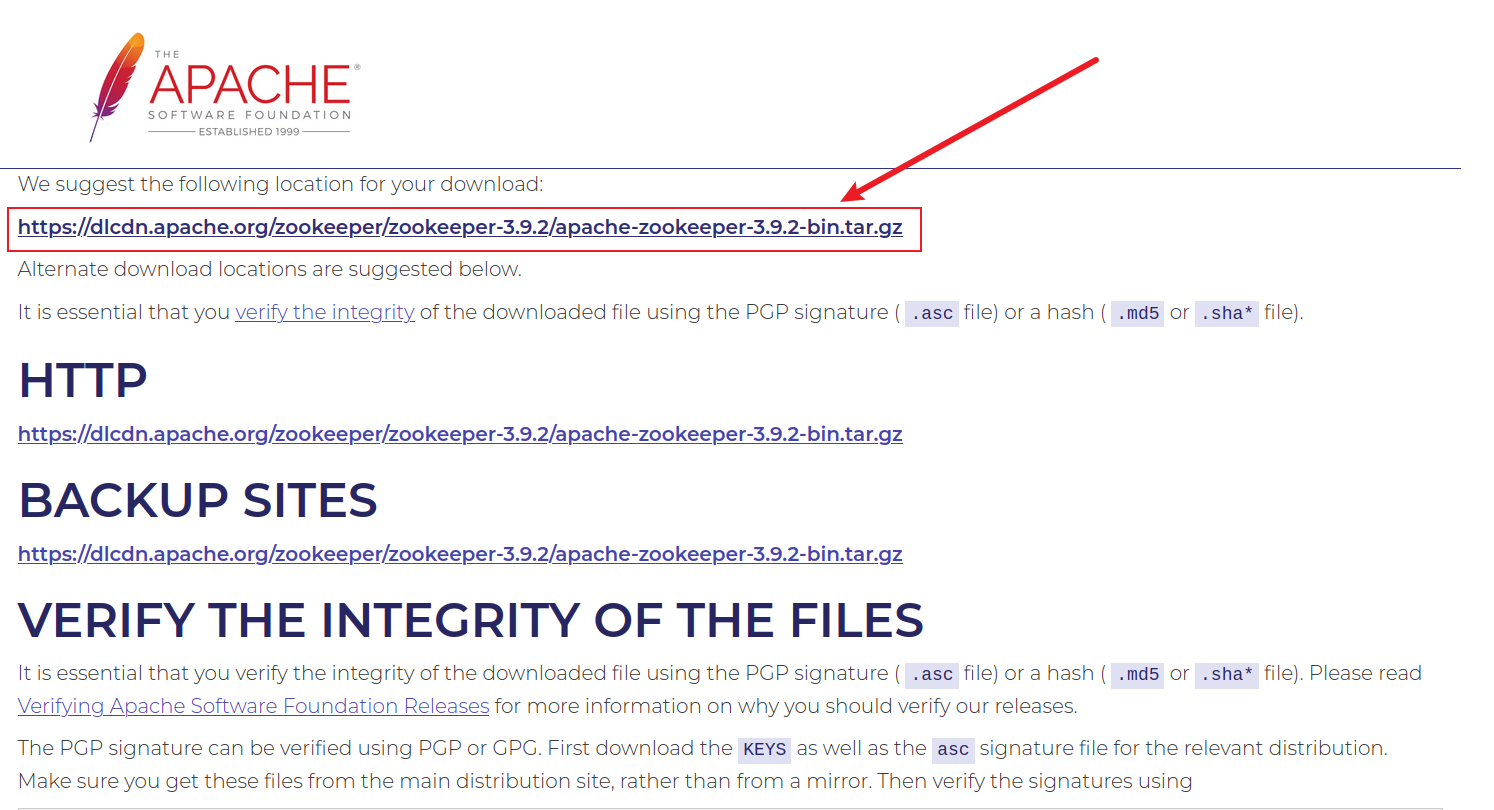
下载最新版

使用推荐地址下载
解压缩:tar -zxvf apache-zookeeper-3.9.2-bin.tar.gz
配置ZooKeeper:
1 | cd apache-zookeeper-3.9.2-bin/conf |
启动ZooKeeper
1 | cd ../bin |
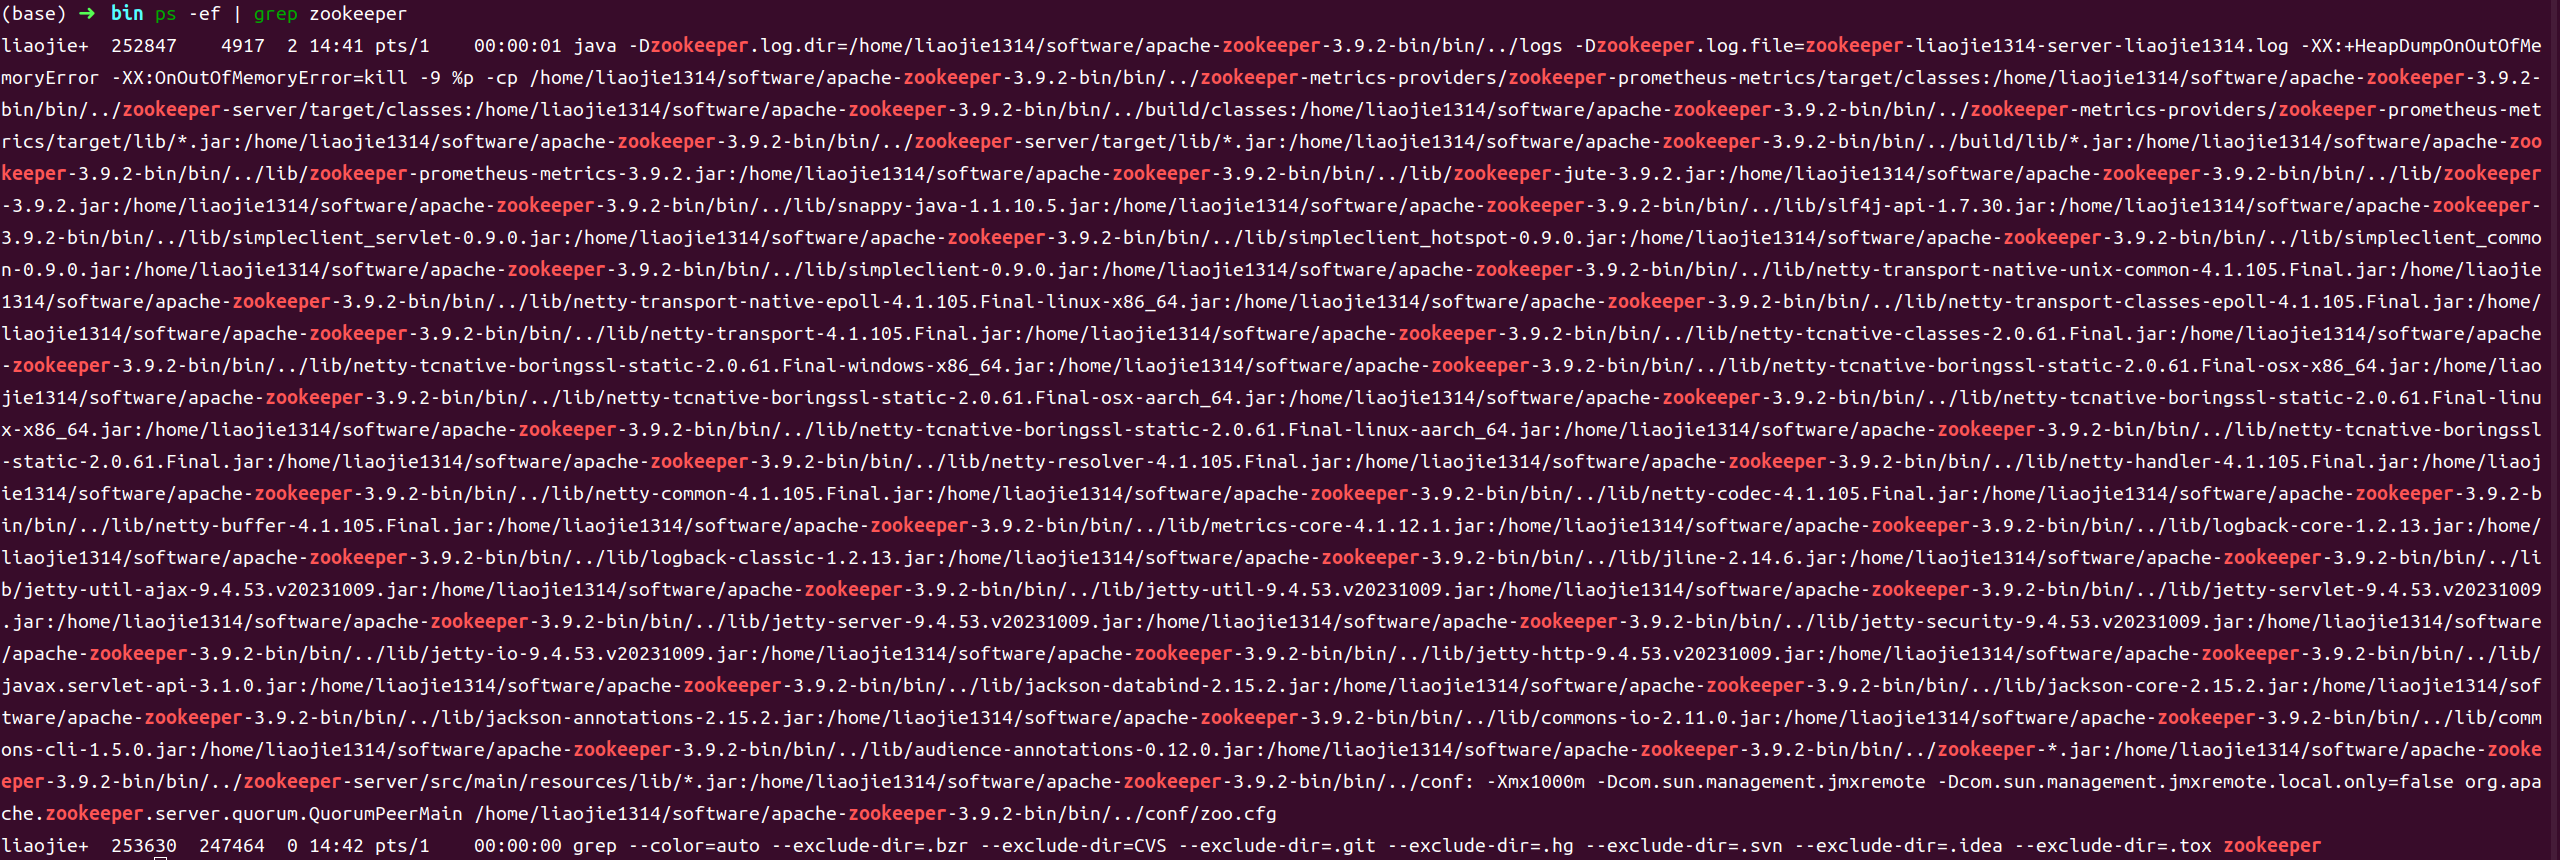
1 | netstat -nlpt #查看占用端口 |

发现占用了三个端口
它占用了8080端口
修改Zookeeper占用8080端口
1 | cd ../conf |

发现端口已经修改成功。
Docker安装Kafka
如果不知道怎么安装docker的小朋友,请看我之前的教程:
- 拉取kafka镜像:docker pull apache/kafka:3.7.0
- 启动kafka容器:docker run -p 9092:9092 apache/kafka:3.7.0